This tutorial teaches how to make polymer clay breakfast platter for your Barbie dolls.
Materials
Polymer clay to make a tray, teapot and tea cup, bread slices , cutleries , cereal bowl and milk carton. For bread slices we need while and brown, for cutleries either gray or white, for rest of the things you can use the colors that you like.
A roller, a blade , pencil or similar object with a flat bottom .
Clear nail polish for glazing , a conventional oven or a toaster oven to bake.
Let's get started :
1. How to make a tray :
To make a tray I have mixed different colors like brown, yellow, green etc. Kneed the clay well so that there are no cracks. Make a 10 1/2 by 4 1/2 inches rectangle. Make bigger rectangle if you need bigger tray.
Curve the edges by cutting them slightly .
Make a thin strip of about 15 inches to construct walls around the tray.
Take a small piece of clay make two small handles.
Now the tray is ready....
2. Tea pot :
Kneed the dough and make three balls, large, medium and small. Also make a thin strip for the spout and the handle.
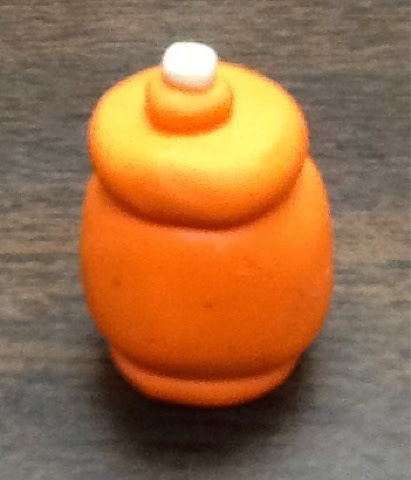
Take the large ball and flatten the top and the bottom slightly.
Next take the medium sized ball and make it flat and this will be the base of the tea pot
Place the large ball on this base and press gently so they stick together well.
Now take the small ball and flatten it and add a tiny ball on the top. This will be the lid of the tea pot.
Take a tiny amount of white clay and make a tiny ball and place on the top. Once this is done place the lid on the tea pot and press gently .
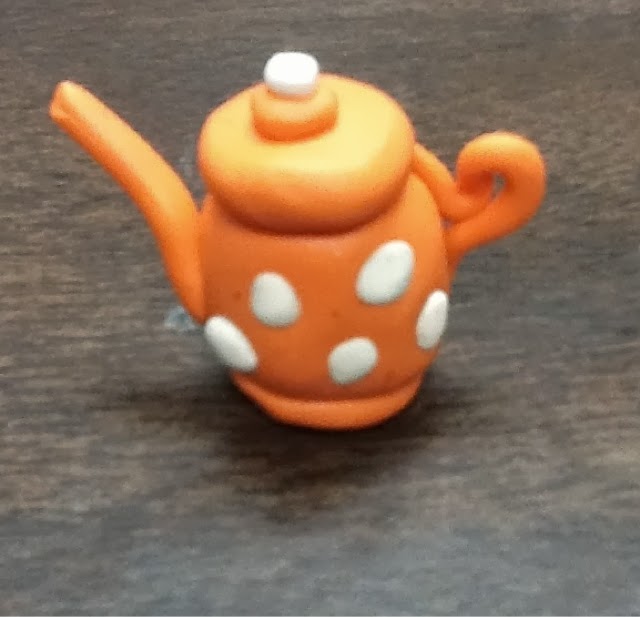
Now take the tiny strip of clay and make a spout and the handle and attach to the teapot. If you want you can decorate the pot , I have added polka dots using white.
Make two large and one small ball out of the clay you have chosen to make the cup.
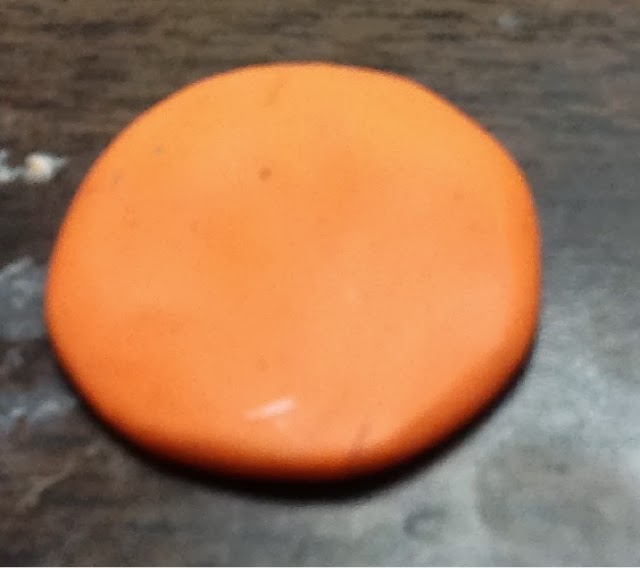
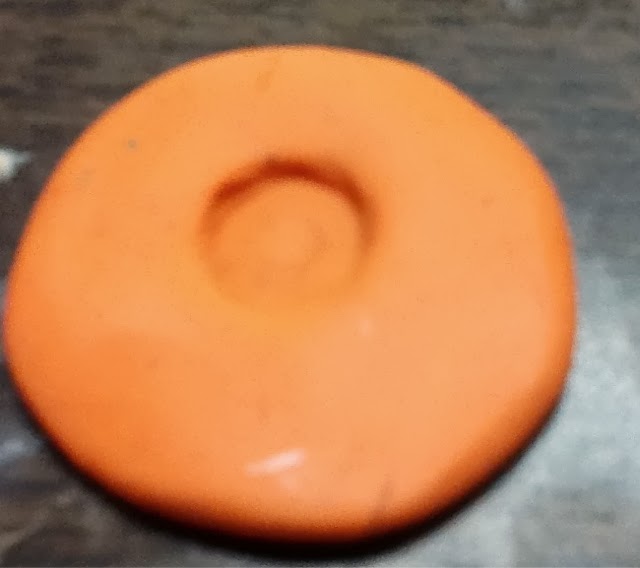
Take one large ball and flatten it and with the help of a pencil or some object with a round base make a hole to look like a saucer.
Next take another large ball and make a cane , and with the help of a pencil make a hole to form a cup. And then take the smaller ball flatten it and attach the cup to the base. Now with a thin strip make the handle and attach to the cup. Then you can make polka dots to decorate the cup.
Finished tea Pot and cup and saucer.
If you like you can fill the cup with brown to get the effect of coffee or tea.
4. Plate:
Take one large ball and flatten the ball. With a pencil make a hole in the middle. Then take a thin strip of clay and construct the walls around the plate.
Make a small square using white and with brown clay make wall around the square to look like a bread slice.
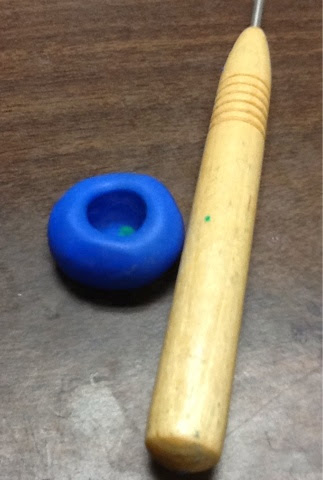
Make a large ball and using an object with the round bottom create a hole and shape it like a bowl. I used a wooden toll to create the hole.
To make cereal I used brown clay and made tiny balls to look like coco puffs .
7. Spoon, fork and knife.
Using white make a thin tube. With the help of a thin rod create a tiny hole on the top of a spoon..
Using white make another thin tube and with the help of a Popsicle stick flatten half of the tube and with the help of a blade curve the top of the knife.
To make the fork again make a tiny tube and attach three stokes of the white clay on the top of the tube. Once the fork is done slightly bend the top to form the shape of a fork .
8. Milk carton :
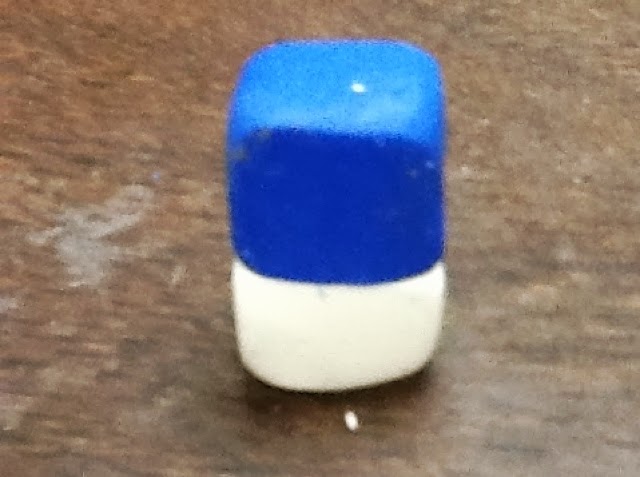
Take two cubes , I have used white and blue. It can also be made with just one color.
Attach one above the other....
Make two small rectangles using white and attach on the top of the blue block to form a roof.
Once the carton is done using white write 'milk' on the carton .
Now the breakfast platter is ready... It looks like this before baking. After every thing is done bake for 15 mins at 275 degree F . Don't bake more than 15 mins. After baking and once it's cooled using clear nail polish paint the entire set and let them dry.
After baking and glazing it looks like this..
Enjoy ......
I hope this tutorial was helpful. Please feel free to leave a comment for any questions or suggestions etc...


